Repairs · Springwater
Garage Door Bottom Seal Replacement in Springwater
Every mild afternoon the snow melts off the car, runs to the door, and by morning the rubber strip along the bottom is frozen to the concrete.
In plain words
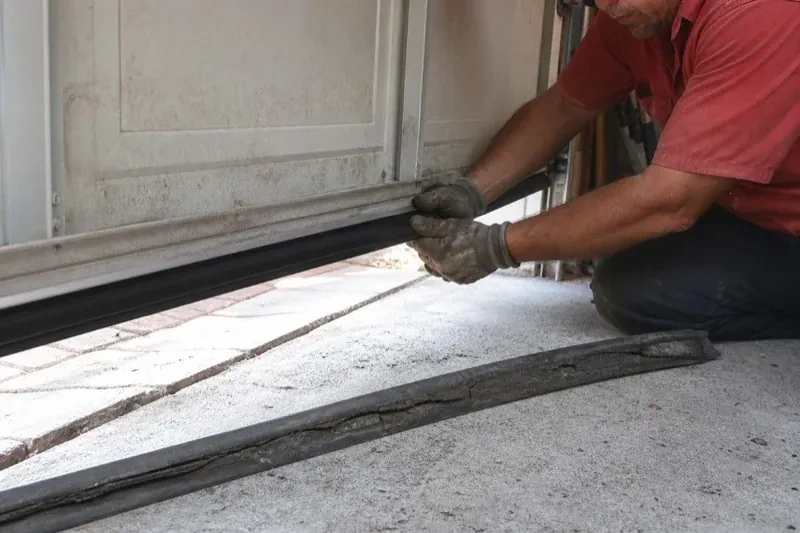
Bottom seals come in a handful of profiles, and the retainer on your door decides which one fits. A T-style seal has T-shaped edges that slide into a single or double channel; a bead seal has rounded edges for the bead channels found on many older steel doors; a bulb or U-style seal is a larger tube that compresses further and suits rough or dished floors. The technician measures the channel spacing and the door width, then picks the profile, height and material to match. A correctly matched seal slides home, stays put through thousands of cycles and closes evenly along its whole length.
How the visit goesWith the door closed and the lights off, a bright line of daylight runs along the floor from one side to the other. Leaves and grit have blown in under it and gathered in a neat drift against the back wall.
Garage Door Bottom Seal Replacement
How the visit goes
Reading the gap with the door closed
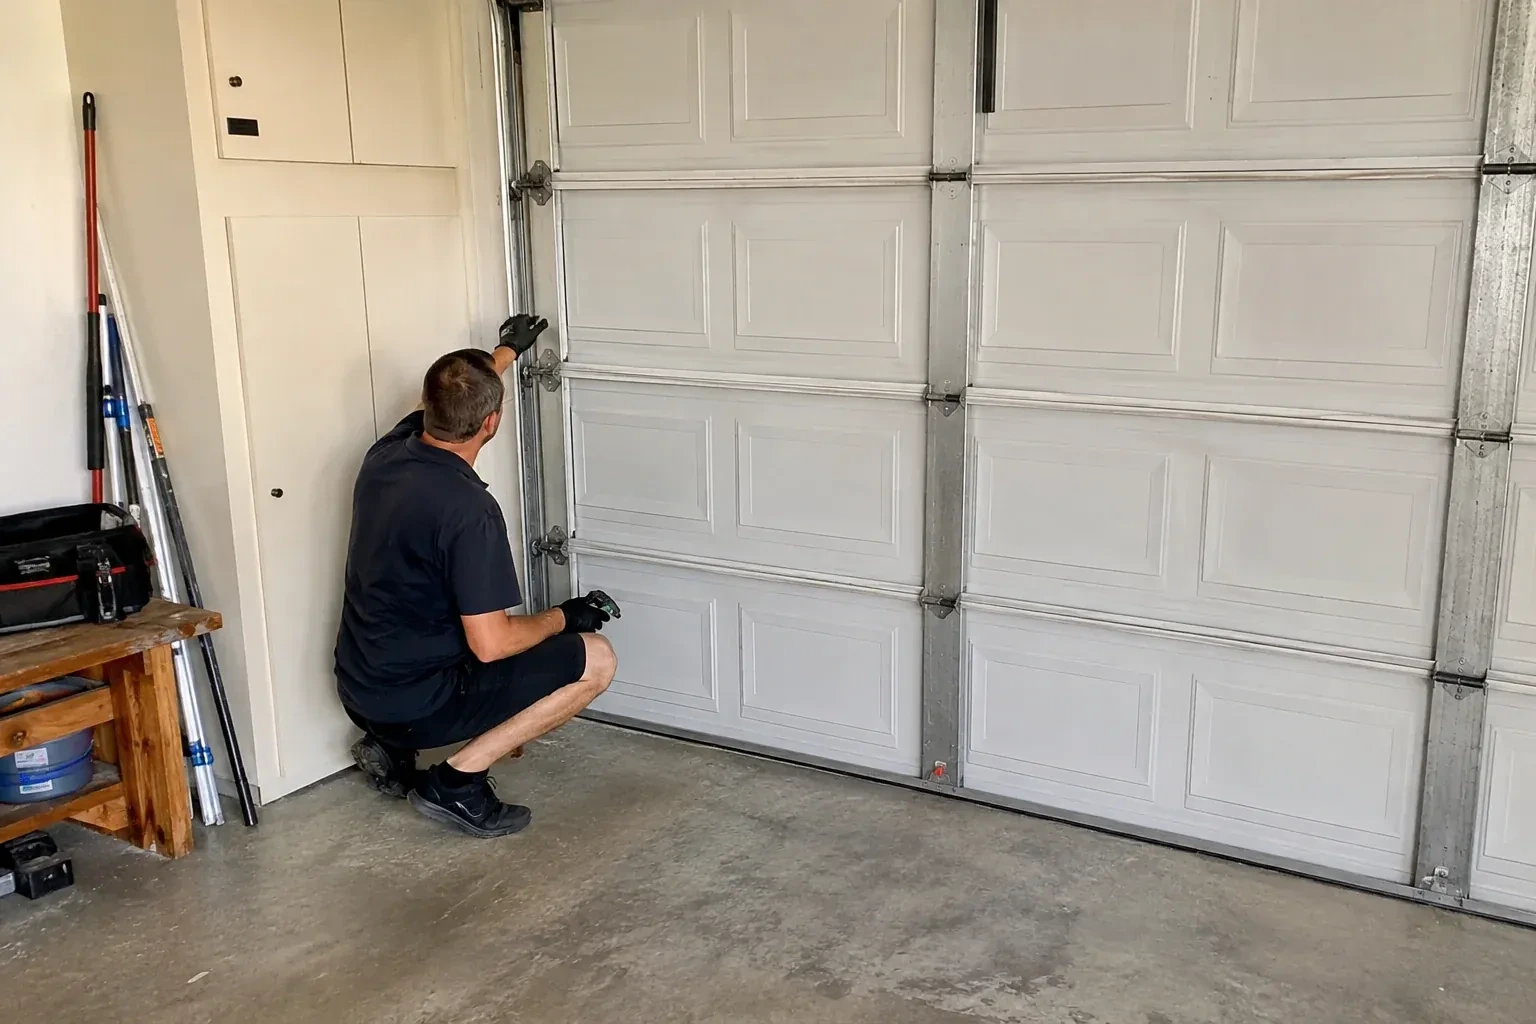
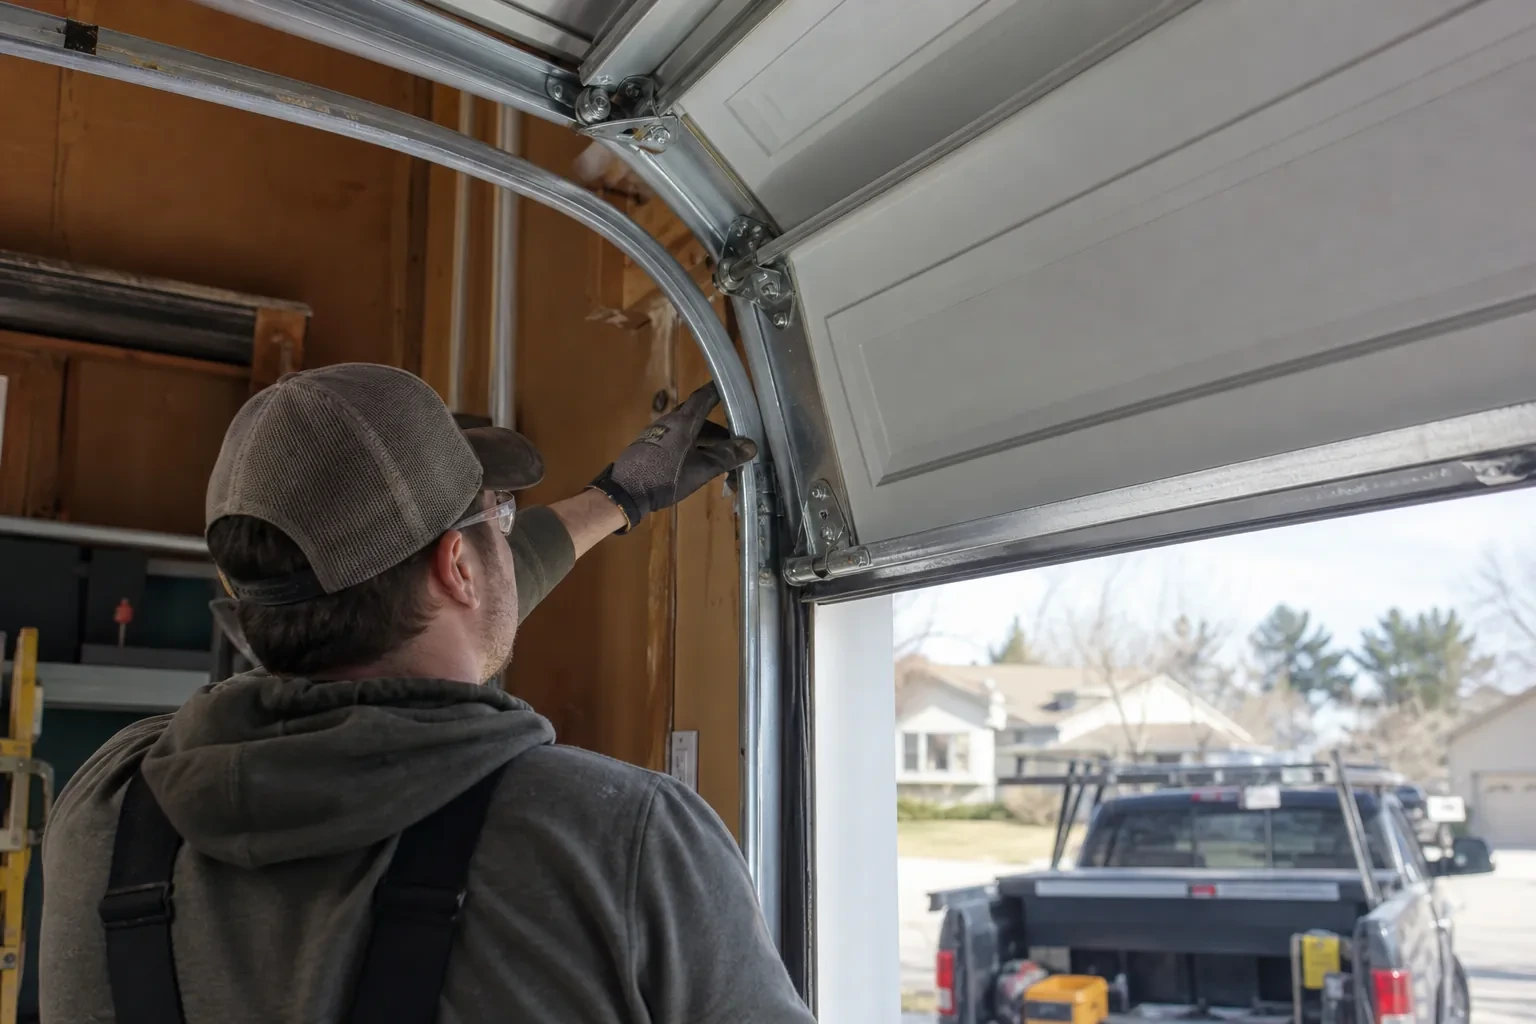
The assessment starts with the lights off and the door down. From inside, the technician looks along the floor line for daylight and notes where it shows: a thin line the full width, a wedge at one corner, or a patch in the middle. A straightedge laid across the threshold shows whether the slab is flat or dished, and a hand run along the seal feels where it touches and where it hovers. Photographs of the worst spots are taken so you can see what is being fixed. This map of the gap tells the technician how tall the new seal needs to be and whether anything other than the seal is contributing.
Cutting the new seal to length
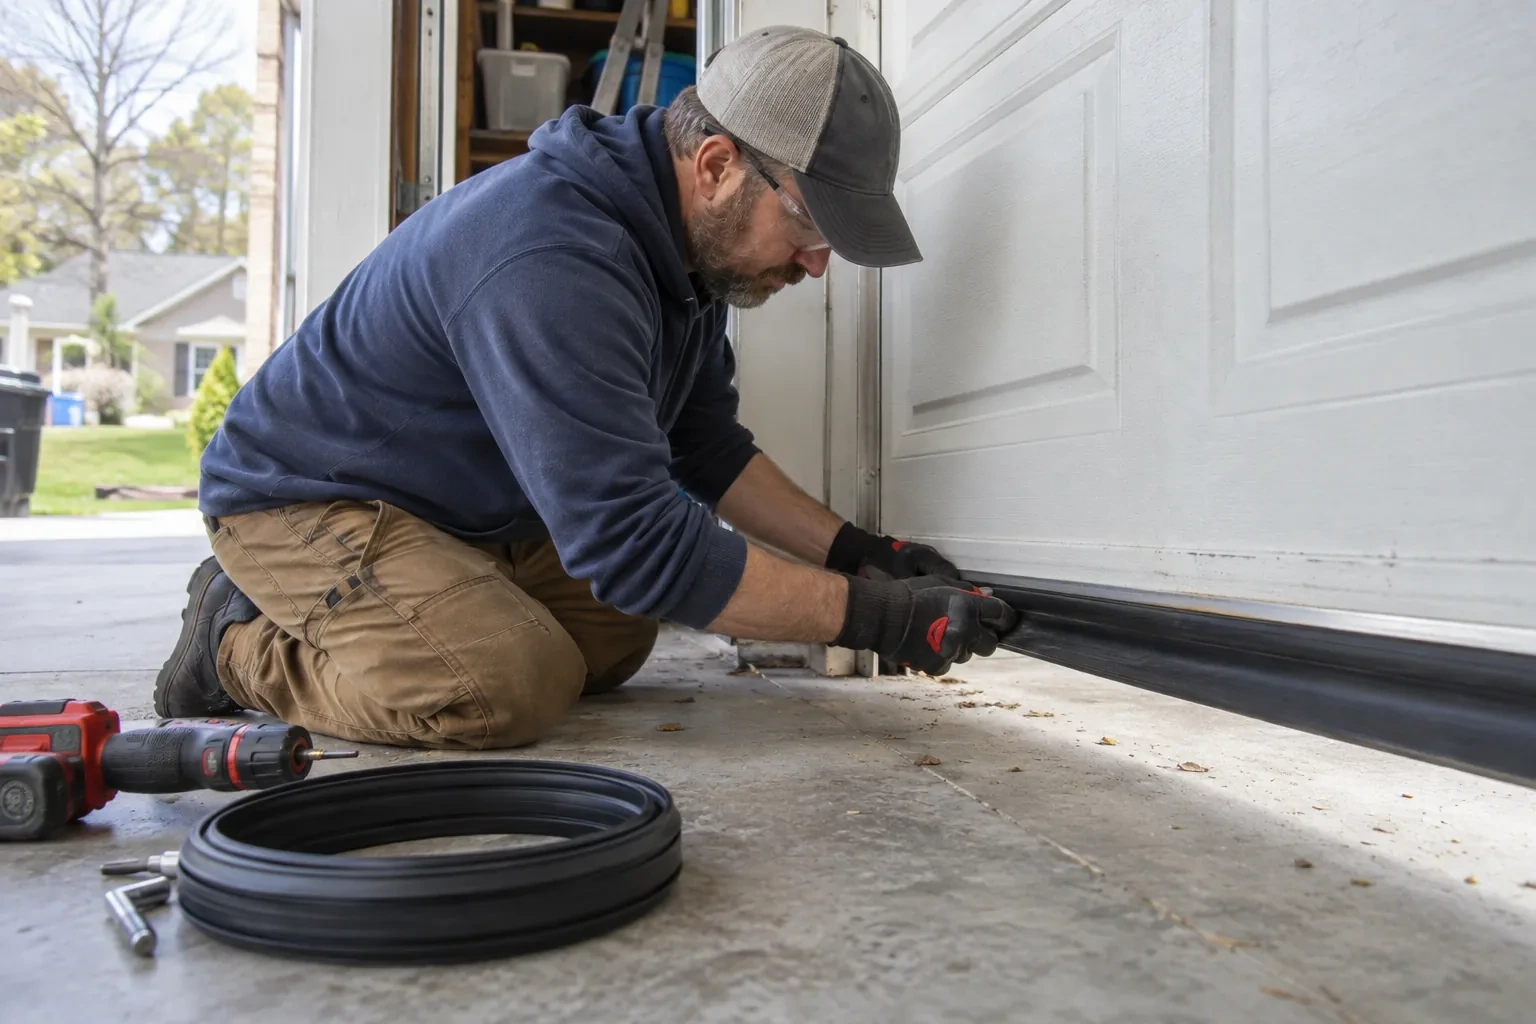
The replacement is cut from a roll to the door width plus a small allowance at each end, using heavy shears or a knife, and the profile is checked against the retainer before any feeding begins. The technician confirms the T or bead edges match the channels and that the bulb height will fill the gap measured earlier without being squashed flat. Where the floor dips at one end, a slightly taller profile is chosen rather than relying on the opener to press harder. Cutting a little long means the ends can be trimmed to the door and finished cleanly once the seal is in.
What to look for each season
Once a season, close the door, turn off the lights and look along the floor. You are checking for a line of daylight, a corner where the seal hovers, an end that has slipped from its channel, and cracks along the fold of the bulb. Run a hand along the strip for stiff or brittle patches. Then watch the door close under power once and notice how it lands. A change in any of these is worth a call while the fix is a seal or an adjustment rather than a torn strip dragged through a winter. The check takes less time than reading this paragraph.
Garage Door Bottom Seal Replacement
In the van
Threshold seal and adhesive
Track clamps
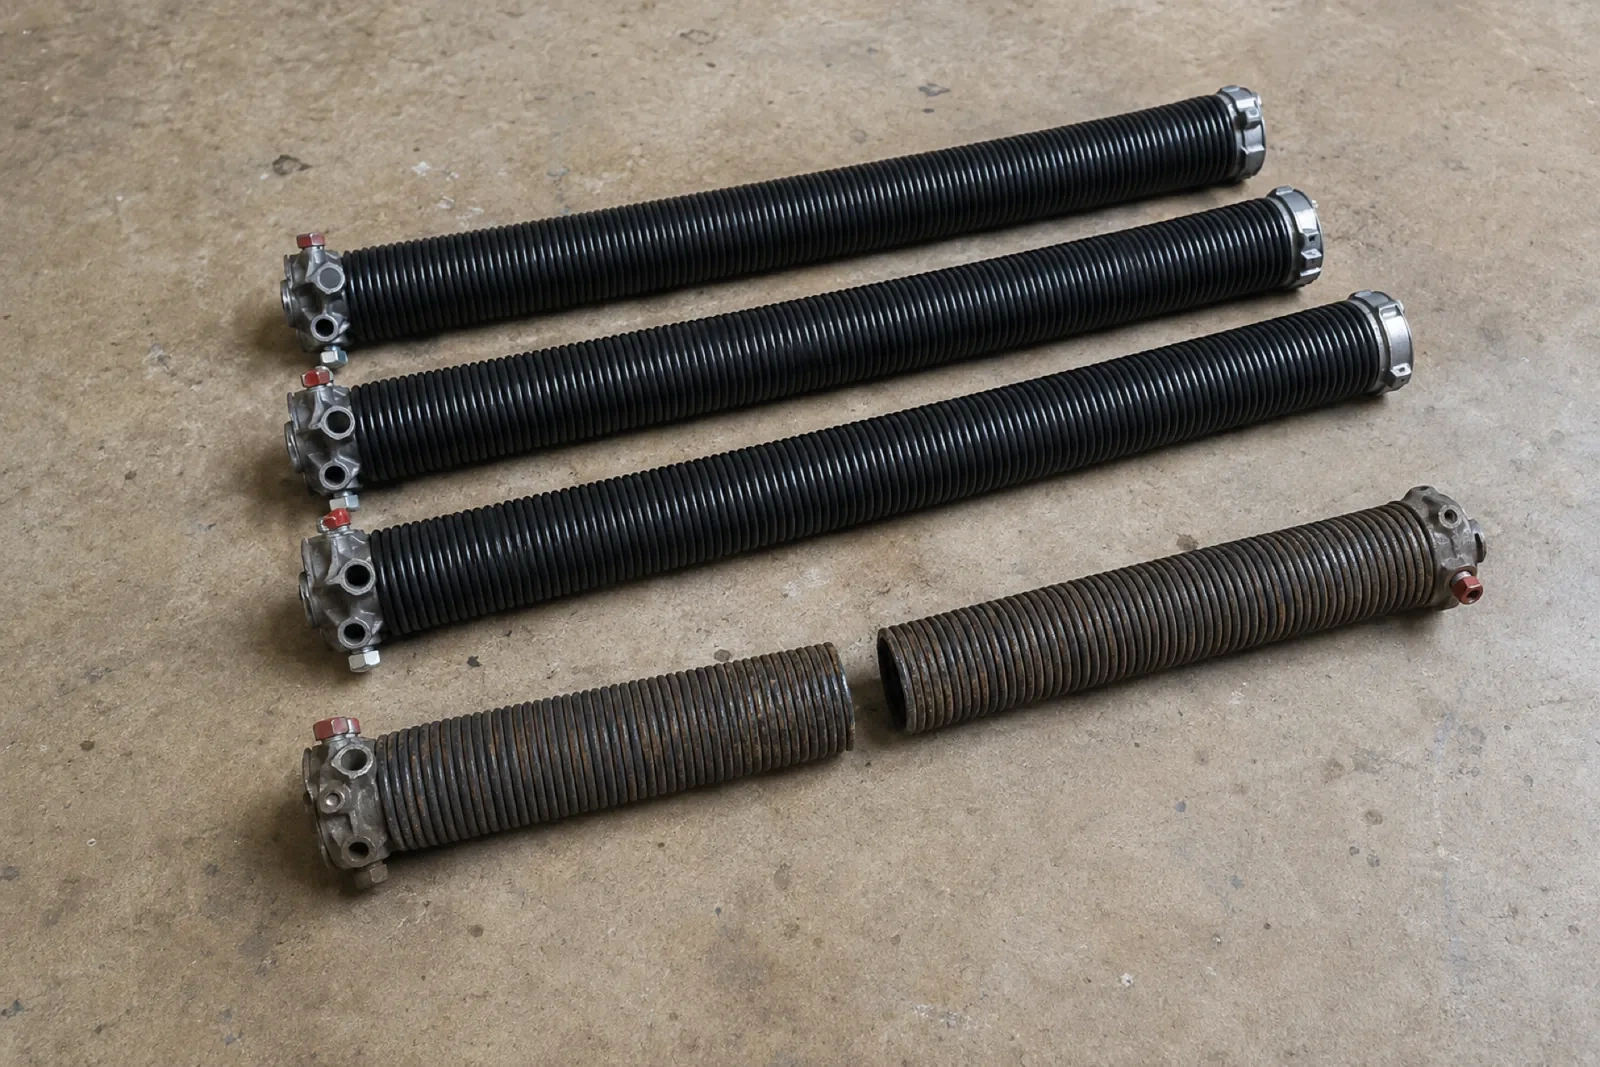
Nail-on vinyl strip for wood doors
Self-drilling retainer screws
Aluminum bottom seal retainer
Garage Door Bottom Seal Replacement
What affects the quote
Door width
A single door takes a shorter length of seal than a double, and the widest doors need more time to feed the strip evenly across. The quote starts from the width measured on the day.
Condition of the old seal
A supple strip slides out in a minute. One that has hardened and seized in its channel, or been torn and frozen into the corners, has to come out in pieces, which takes longer.
Wood door nail-on strip
A wood door with a nailed strip takes a different product and more fastening time than a channel seal, and adding a retainer to a wood rail is a further option to consider.
What to have ready
- Is the old seal hard and cracked, torn, hanging loose, or missing?
- Have you seen mice or droppings in the garage?
- Are the side and top weather strips also worn or torn?
Garage Door Bottom Seal Replacement: questions
QuestionsCan mice get past a garage door bottom seal?
A worn, hardened or chewed seal is one of their favourite routes, and even a small gap at a corner is enough. A fresh, continuous seal sized to the floor removes that route. For a garage with repeated trouble, seals with a stainless mesh embedded in the vinyl are available and resist chewing. Keeping the jamb seals sound at floor level matters just as much, since a gap beside the door serves them equally well.
How can I tell that the bottom seal needs replacing?
Close the door, turn off the lights and look along the floor from inside. Daylight showing, a strip that feels hard or cracks when pressed, a bulb that has flattened and stays flat, an end hanging out of its channel, chew marks or missing pieces are all signs. So are leaves, snow or a puddle inside the door after weather. Any one of these means the seal has stopped doing its job.
How do I look after the new seal?
Wipe it clean of salt and grit a few times a year, and give it a light coat of silicone spray each autumn so meltwater has nothing to bond to. Keep petroleum products and solvents away from it, since they soften vinyl. Clear ice and packed snow from the threshold before running the door in winter. Once a season, look under the closed door for daylight. That is the whole routine.