Openers · Springwater
Photo-Eye Sensor Alignment or Replacement in Springwater
The door will only go down while a finger stays on the wall button; let go and it stops or reverses.
In plain words
By the end of the visit you have a door that closes from every control and reverses the instant the beam is broken, a sensor pair mounted level at the right height with steady indicator lights, wiring that is secured and out of harm's way, and a written note of what was found and what was changed. The technician walks you through the two tests you can repeat monthly, points out which light is which, and leaves the opener's diagnostic chart where you can find it. It is a small job that puts a large piece of your door's protection back in service.
How the visit goesAfter a cold night the door stays open until the garage warms up. There is frost on the sensor lenses and a ridge of salty slush piled against the brackets where the snow blower was parked.
Photo-Eye Sensor Alignment or Replacement
How the visit goes
Reading the two small lights
Most sensor pairs carry an indicator on each side, though some older models light only the receiver, so the technician checks that model's own chart first. On most openers the sending eye shows one colour and the receiving eye another, and both should glow without a flicker. If the sending light is steady and the receiving light is dark or blinking, the beam is not landing where it should: misalignment, an obstruction or a dirty lens. If both are dark, the pair has no power, pointing up the wire to a cut, a loose terminal or reversed connections. The technician also nudges each bracket gently while watching the light; a flicker on touch means a loose mount.
Resetting the alignment
Alignment is done with the door open and the lights in view. The technician sets both sensors to the same measured height, loosens the wing nut on the receiving side, and turns the sensor a fraction at a time until its indicator changes from dark or flickering to steady. The nut is tightened while the light is watched, because a sensor can drift as the fastener bites, and the sending side is treated the same way. Brackets are checked for play and the wire is re-clipped so it cannot tug the sensor out of line. A steady light on both sides, held through a few door cycles, is the standard.
Wiring that stays put
The wire between the head unit and the sensors has been secured along the ceiling and walls, clipped clear of the track and, where it was exposed, run inside a protective channel. Two things keep it that way. First, when anything is fastened to those walls or that ceiling, from shelving to a bike hook to drywall, look for the thin wire before driving a screw or a staple. Second, if mice have been in the garage, a chewed wire is a common sign, so a dark sensor light after a sighting is worth a look at the run. Either way, the sensor lights will tell you the moment the circuit is open.
Photo-Eye Sensor Alignment or Replacement
In the van
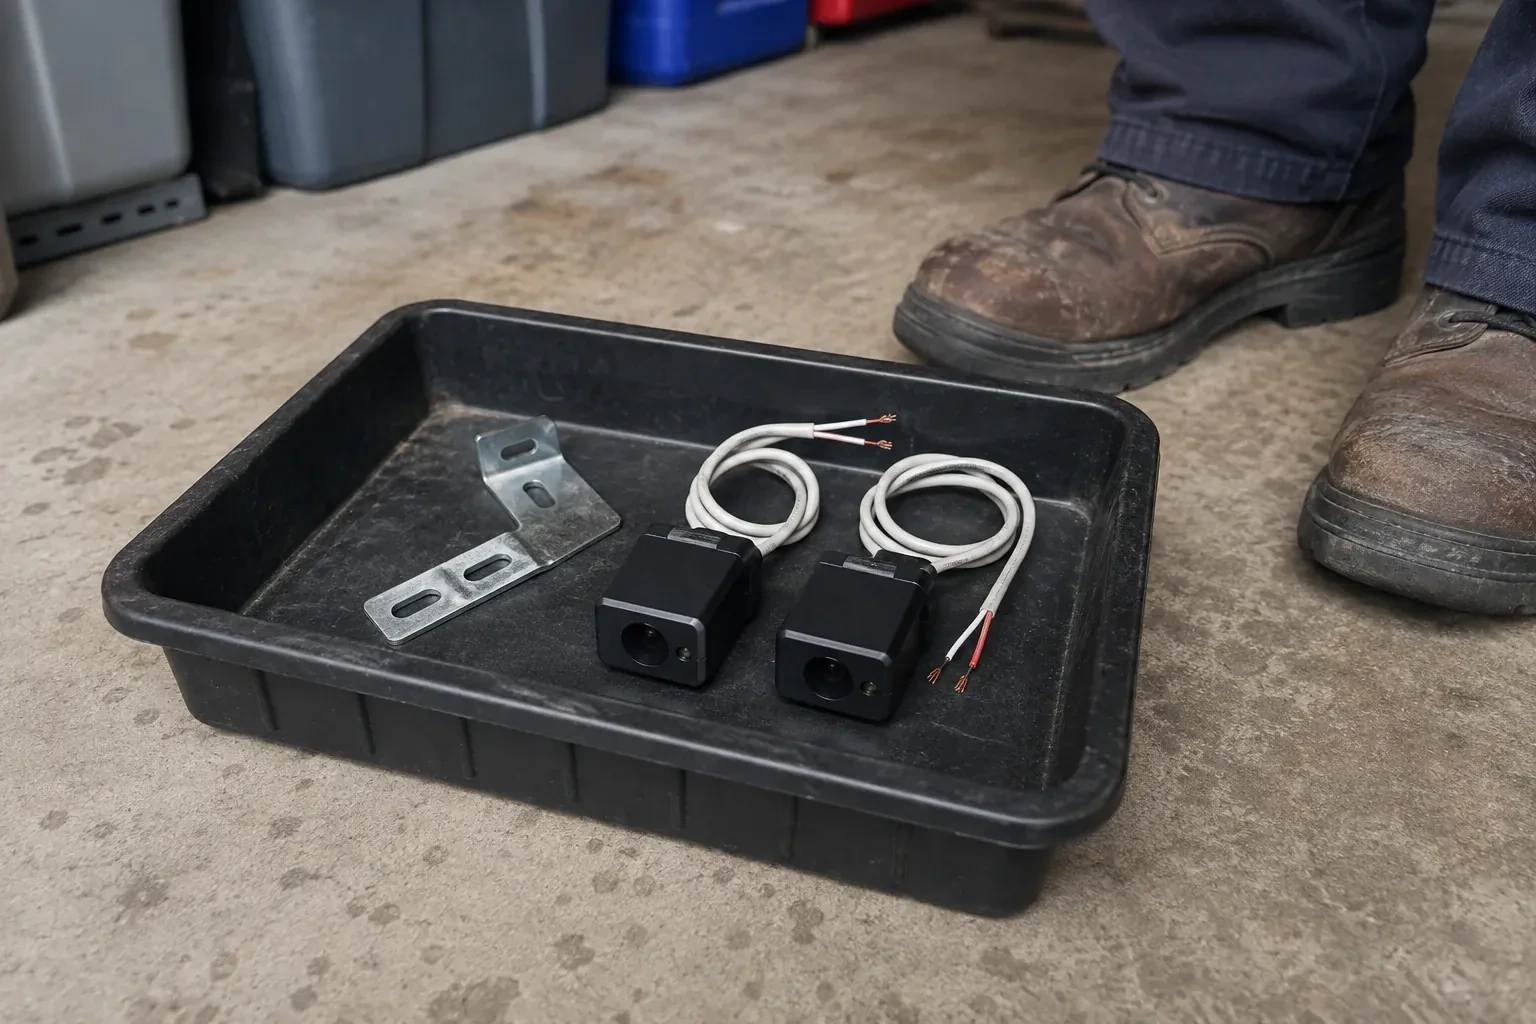
Wall or floor angle brackets
Matched photo-eye sensor pair
Track-mount sensor brackets
Wire connectors
Receiving-eye sun shade
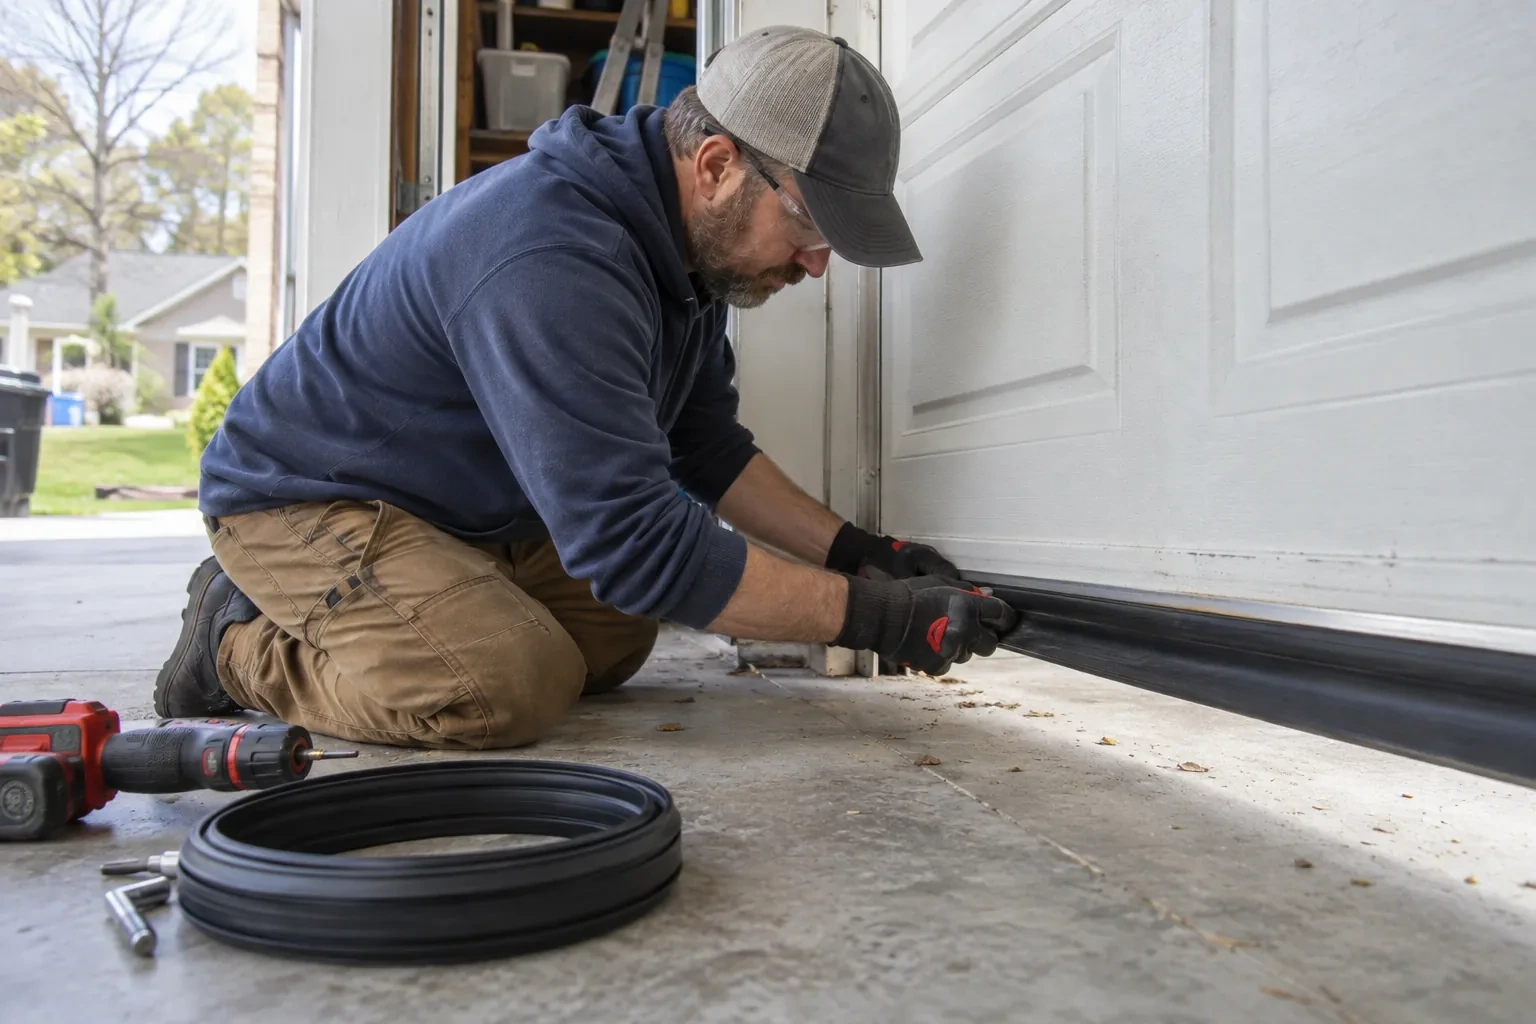
Photo-Eye Sensor Alignment or Replacement
What affects the quote
Length and route of the wire run
A damaged section near a sensor is a short repair. A fresh run from the motor to both sides of the doorway takes longer, more so where the wire is buried in a finished ceiling.
Sun and reflection remedies
Swapping the sensors side to side is a small addition when the wiring reaches. Fitting a shade, or extending the wire so the receiver can move, is a little more and is listed on its own.
Number of doors
Each opener has its own sensor pair and wire run, so a double garage with two doors is two sets of checks, two possible pairs and two rounds of testing, quoted per door.
What to have ready
- Does it happen at all hours, or mainly on bright mornings or late afternoons?
- What do the two small sensor lights show: both steady, one dark or flickering, or both dark?
- When did it begin, and what was different that week: a bump, new shelving, a storm, a frost?
Photo-Eye Sensor Alignment or Replacement: questions
QuestionsWill the sensors need replacing or just aligning?
Most visits end in alignment, cleaning and bracket work, because the sensors themselves are hardy. Replacement comes into it when a lens has clouded or crazed, when the housing is split or holds water, an indicator stays dark with the wiring proven good, or the pair is from a different generation than the opener and is never recognised. The technician tests before choosing, so the parts list matches what the door needs.
My opener has no sensors at all. Can they be added?
If the opener predates the entrapment-protection standard, which operators have had to meet since the mid-1990s, its board has no sensor circuit and a pair cannot simply be wired in. The positive news is that a modern operator brings the whole package: matched sensors, force reversal and a monitored circuit. The technician confirms the model first, because some units do have the terminals and simply had their sensors removed.
Do both sensors get replaced together?
Yes. The sending and receiving sensors are made and sold as a matched pair for a given opener family, and the head unit expects both to be from the same generation. Fitting a pair also means both lenses, both indicators and both mounting points are fresh at the same time, so the alignment holds and the next check is simpler. A single sensor from an unrelated kit is where mystery faults come from.
Related services
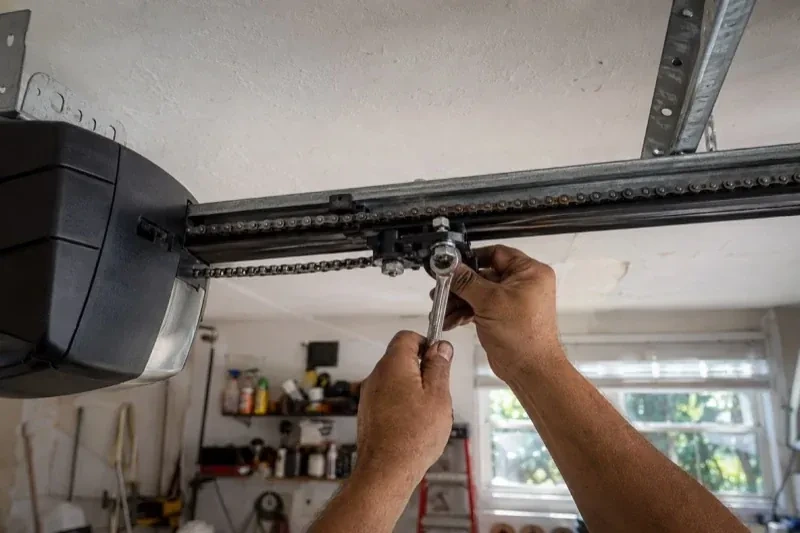
- Chain-Drive Opener RepairThe chain hangs in a loop under the rail and slaps against it on every cycle.
- Belt-Drive Opener RepairThe door used to glide up with a soft hum.
- Garage Door Opener ReplacementSince the storm the door behaves oddly: it reverses halfway down for no reason, the light flickers, and the travel limits drift so it either slams or stops short.