Openers · Springwater
Smart Garage Controller Setup
A smart hub arrived in the mail with a coin-cell sensor and two wires.
In plain words
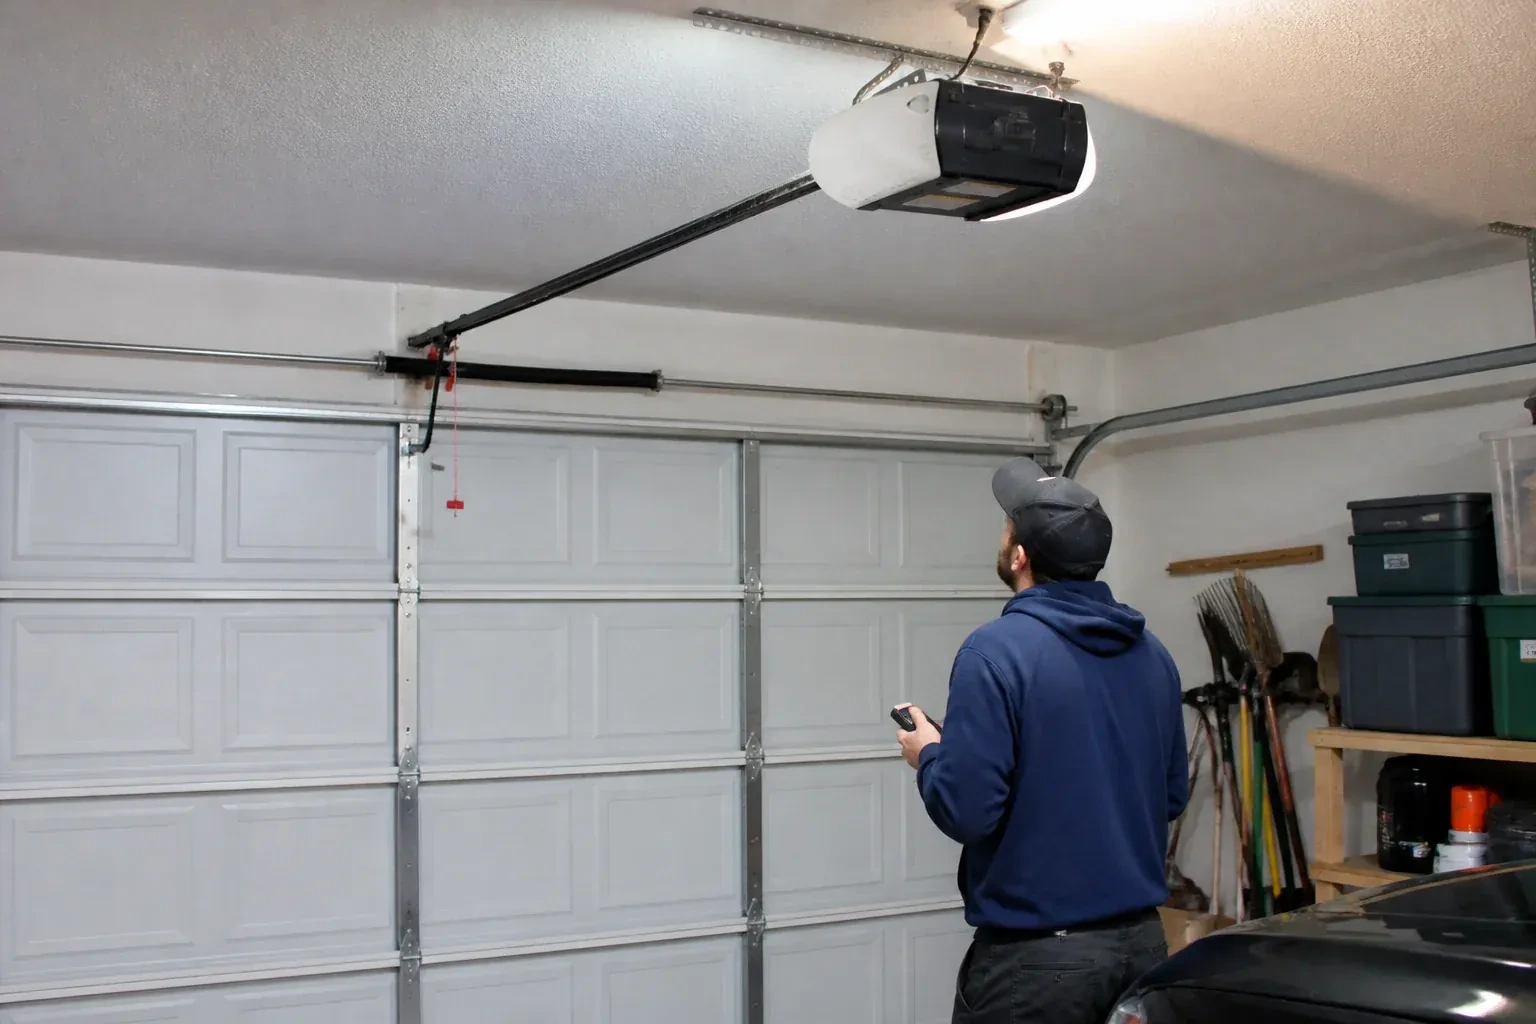
The physical part of the job is modest and tidy. A hub the size of a deck of cards is mounted near the opener and plugged into the same receptacle the motor uses. Where the opener allows, two low-voltage wires run from the hub to the wall-control terminals; where it does not, the hub is taught to the opener through the learn button like an extra remote. A sensor the size of a matchbox is screwed to the inside of the top door section, and its tilt tells the hub the door's position. Then the door is cycled until the app agrees with your eyes.
How the visit goesYour daughter gets home from school an hour before anyone else. She has lost two house keys this year, and the garage keypad code has been shared with half her class. You would rather open the door from your desk and know the moment she is in.
Smart Garage Controller Setup
How the visit goes
Whether the radio is already inside
Many openers sold in the last several years already contain a wireless radio, and the check is simple: a network symbol printed on the head unit, a dedicated indicator light, or a mention of an app in the manual. When the radio is built in there is no hub to mount and no sensor to fit; the opener itself reports door position from its own travel sensing. The technician confirms the radio has not been paired to a previous owner's account, notes the serial number the app will ask for, and checks that the unit's firmware is a version the current app still supports. If so, the job becomes configuration rather than installation.
Taking over a controller left by a previous owner
When the house came with a hub or a connected opener still tied to the seller's account, the device is first removed from that account if the seller can be reached, and otherwise reset to factory settings using the maker's documented procedure. The hub or opener is then paired fresh, joined to your network and claimed under your new login. Any sensor already on the door is checked for battery and placement and re-paired rather than assumed to be working. The old account is cut off from the door for good, and the history you see from then on starts with your household.
Alerts that earn their place
You leave with a small set of notifications chosen on purpose rather than every option switched on. A left-open reminder after a set delay, a note when the door opens during hours nobody should be using it, and a message when a scheduled close has completed are the ones most households keep. If the alerts become noise, adjust the delays or turn one off rather than muting the app entirely, because a silenced app is the one that stays quiet on the night the door is up. The settings screen you were shown is where each of these lives, and changes take effect at once.
Smart Garage Controller Setup
In the van
Replacement photo-eye pair
A 2x4 offcut for the reversal test
Receptacle splitter with approval mark
Plug-in power adapter
Dry-contact adapter for encrypted openers
Smart Garage Controller Setup
What affects the quote
Door sensor mounting
A flat steel panel takes the sensor in minutes. An insulated, raised-panel or windowed top section may need a bracket or a different spot, which adds a little time.
Ceiling height and access
A standard garage puts the head unit and the top door panel in easy ladder reach. High ceilings, storage lofts or a car that cannot move add setup time.
Taking over an existing device
Releasing a controller from a previous owner's account, resetting it and pairing it fresh takes time that a new device does not, and its sensor may need a battery or repositioning.
What to have ready
- Are both photo-eye sensors near the floor lit steadily?
- Is the garage attached to the house or detached?
- Is there an existing controller on the ceiling from a previous owner?
Smart Garage Controller Setup: questions
QuestionsWhat does the colour of the learn button tell you?
On many openers the learn button's colour marks the generation of radio coding the unit uses, which decides how a hub can talk to it. Some generations accept a simple two-wire connection at the wall-control terminals; others use an encrypted console and need the hub paired by radio or through a small adapter. Sending a photo of the button and the label ahead of the visit lets the technician arrive with the right hardware.
The previous owner's controller is still on the ceiling. Can I use it?
Usually, once it is released from their account. If the seller can be reached, they remove the device from their app; if not, the technician performs a factory reset using the maker's documented steps, which clears the old registration. The hub and sensor are then paired fresh, joined to your network and claimed under your own login, and the battery and sensor placement are checked rather than assumed.
Do you need my Wi-Fi password?
No. The technician will ask you to type it into the app yourself at the right moment and will look away while you do. The same goes for the account password and any verification code. The technician needs to see that the hub has joined and that commands work, not the credentials that made it happen. If you do not know your network password, find it before the visit; it is often printed on the router.
Related services
- Chain-Drive Opener RepairThe chain hangs in a loop under the rail and slaps against it on every cycle.
- Belt-Drive Opener RepairThe door used to glide up with a soft hum.
- Garage Door Opener ReplacementSince the storm the door behaves oddly: it reverses halfway down for no reason, the light flickers, and the travel limits drift so it either slams or stops short.