Openers · Elmvale
Smart Garage Controller Setup in Elmvale
A smart hub arrived in the mail with a coin-cell sensor and two wires.
In plain words
Everything about this service starts with the label on your opener. Brand, model number and year of manufacture decide whether a hub can be wired to the same terminals your wall button uses, whether it must instead pair by radio the way a new remote does, or whether the opener already has connectivity waiting to be activated. On many openers the colour of the learn button is the shortcut to that answer, because it marks the generation of radio coding the unit speaks. The technician reads all of this before choosing hardware, so the controller that goes up is one the maker lists as supported for that exact opener.
How the visit goesA contractor is coming to work in the garage on Thursday while you are away. Handing over a remote means chasing it back afterwards, and the keypad code is the one your whole family uses. What you want is access that ends when the job does.
Smart Garage Controller Setup
How the visit goes
The door before the app
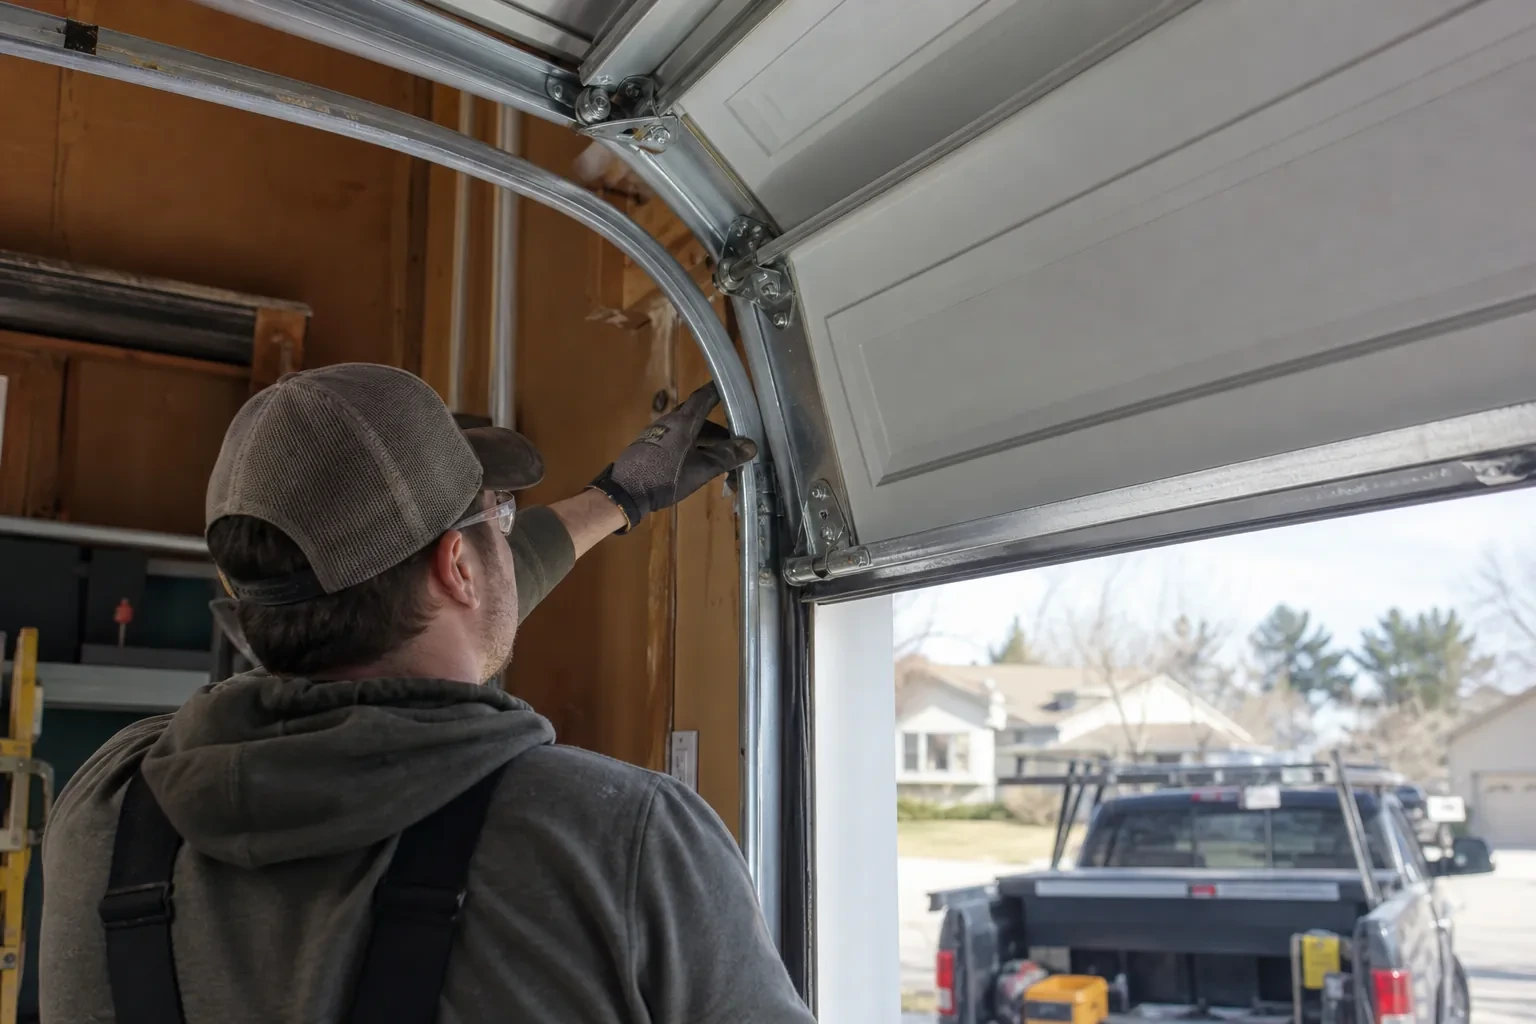
A smart controller sits on top of a mechanical system, so the mechanical system is checked first. With the door closed the trolley is released and the door lifted by hand: it should rise with modest effort, hold at about a metre and stay fully open. Rollers, hinges, cables and track are looked over, and the opener is run from the wall control to watch its travel and hear its drive. A balanced, smooth door gives the controller reliable position reporting and gives you an opener that is not straining every time your phone asks it to move. Anything found here is put right before the connected part begins.
Switching on a built-in radio
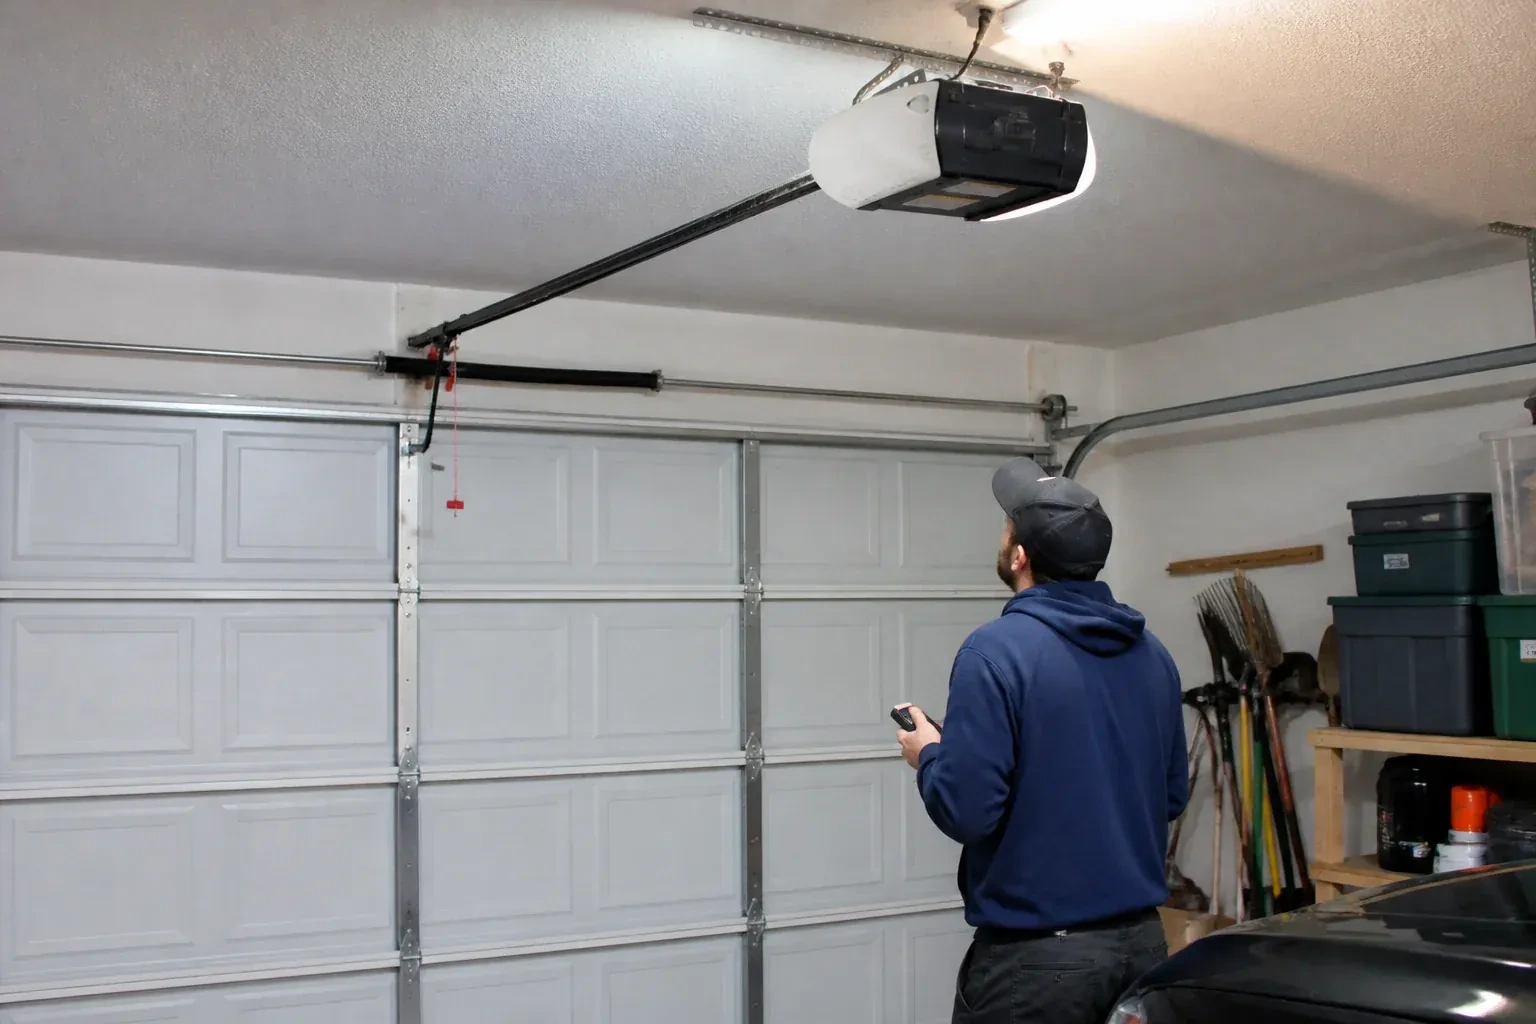
When the opener has its own wireless radio, the work is mostly done at the head unit. The technician puts the opener into its pairing mode, usually by a button press or a sequence on the wall console, which broadcasts a temporary network the phone can see. Through the app the owner selects the home network and enters its password; the opener joins, its indicator turns steady, and the serial number from the label registers the device to the owner's new account. The technician then runs the door from the app and from the wall button to confirm position reporting matches the real door, and applies the firmware update the app offers before moving on to alerts and users.
Keeping the account yours
The controller is now a door key that lives in an account, so the account gets the same care as a key ring. Keep the password unique to this service and stored in a password manager, turn on two-step verification if the app offers it, and look at the user list every few months. When a cleaner finishes, a tenant moves out or a relationship changes, their access is removed in a few taps. If a phone is lost, signing out of all devices from the account settings closes that door too. None of this needs a technician; the visit ended with you shown exactly where each of these controls lives.
Smart Garage Controller Setup
In the van
Replacement photo-eye pair
A 2x4 offcut for the reversal test
Receptacle splitter with approval mark
Plug-in power adapter
Dry-contact adapter for encrypted openers
Smart Garage Controller Setup
What affects the quote
Door sensor mounting
A flat steel panel takes the sensor in minutes. An insulated, raised-panel or windowed top section may need a bracket or a different spot, which adds a little time.
Number of doors
A second door means a second sensor, a second round of pairing and testing and sometimes a second hub, and each door is quoted as its own line.
Ceiling height and access
A standard garage puts the head unit and the top door panel in easy ladder reach. High ceilings, storage lofts or a car that cannot move add setup time.
What to have ready
- Are both photo-eye sensors near the floor lit steadily?
- Is there a spare socket in the ceiling receptacle the opener uses?
- What brand and model is your opener, and roughly how old is it?
Smart Garage Controller Setup: questions
QuestionsWhat does the colour of the learn button tell you?
On many openers the learn button's colour marks the generation of radio coding the unit uses, which decides how a hub can talk to it. Some generations accept a simple two-wire connection at the wall-control terminals; others use an encrypted console and need the hub paired by radio or through a small adapter. Sending a photo of the button and the label ahead of the visit lets the technician arrive with the right hardware.
The previous owner's controller is still on the ceiling. Can I use it?
Usually, once it is released from their account. If the seller can be reached, they remove the device from their app; if not, the technician performs a factory reset using the maker's documented steps, which clears the old registration. The hub and sensor are then paired fresh, joined to your network and claimed under your own login, and the battery and sensor placement are checked rather than assumed.
Do you need my Wi-Fi password?
No. The technician will ask you to type it into the app yourself at the right moment and will look away while you do. The same goes for the account password and any verification code. The technician needs to see that the hub has joined and that commands work, not the credentials that made it happen. If you do not know your network password, find it before the visit; it is often printed on the router.
Related services
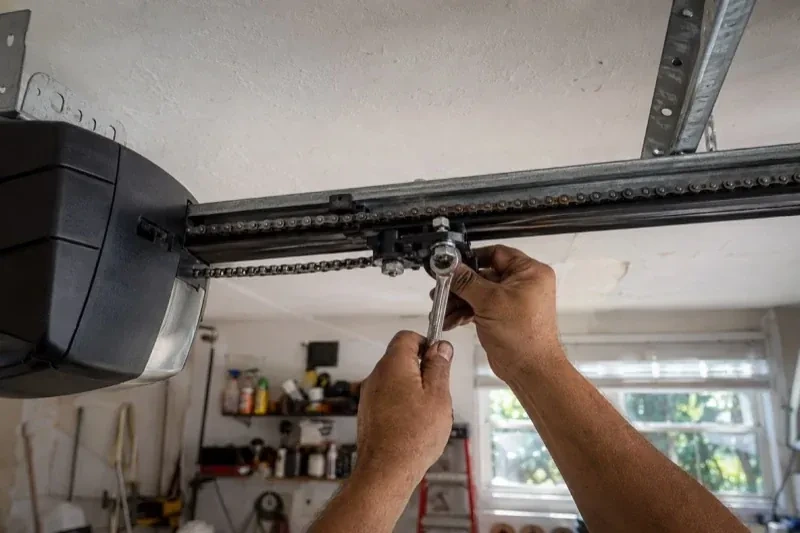
- Chain-Drive Opener RepairThe chain hangs in a loop under the rail and slaps against it on every cycle.
- Belt-Drive Opener RepairThe door used to glide up with a soft hum.
- Garage Door Opener ReplacementSince the storm the door behaves oddly: it reverses halfway down for no reason, the light flickers, and the travel limits drift so it either slams or stops short.